
Summary | Key concept | Science Story | Background Science | Activity | Curriculum links | Linked Activities
Download this activity as Word or PDF, and a movie showing lunar phases – click on the links above
There is also an associated Moon Phases chart available as a webpage, a Word document, a PDF, and a PNG image.
- Suggested Age Range: 7 – 8 years; 9 – 10 years
- UK Primary Curriculum: Key Stage Two (lower); Key Stage Two (upper)
- Suggested UK Year Group: Year 3; Year 5
- UK Primary Curriculum Link: Light (Y3); Earth and Space (Y5)
- Science Subject: Phases of the Moon; Movement of the Moon
- Science Question: Why does the Moon change shape?
- Activity type: individual
- Suggested linked stories: The Man with the Moon; The Weaving Maiden; Why the Moon is Free
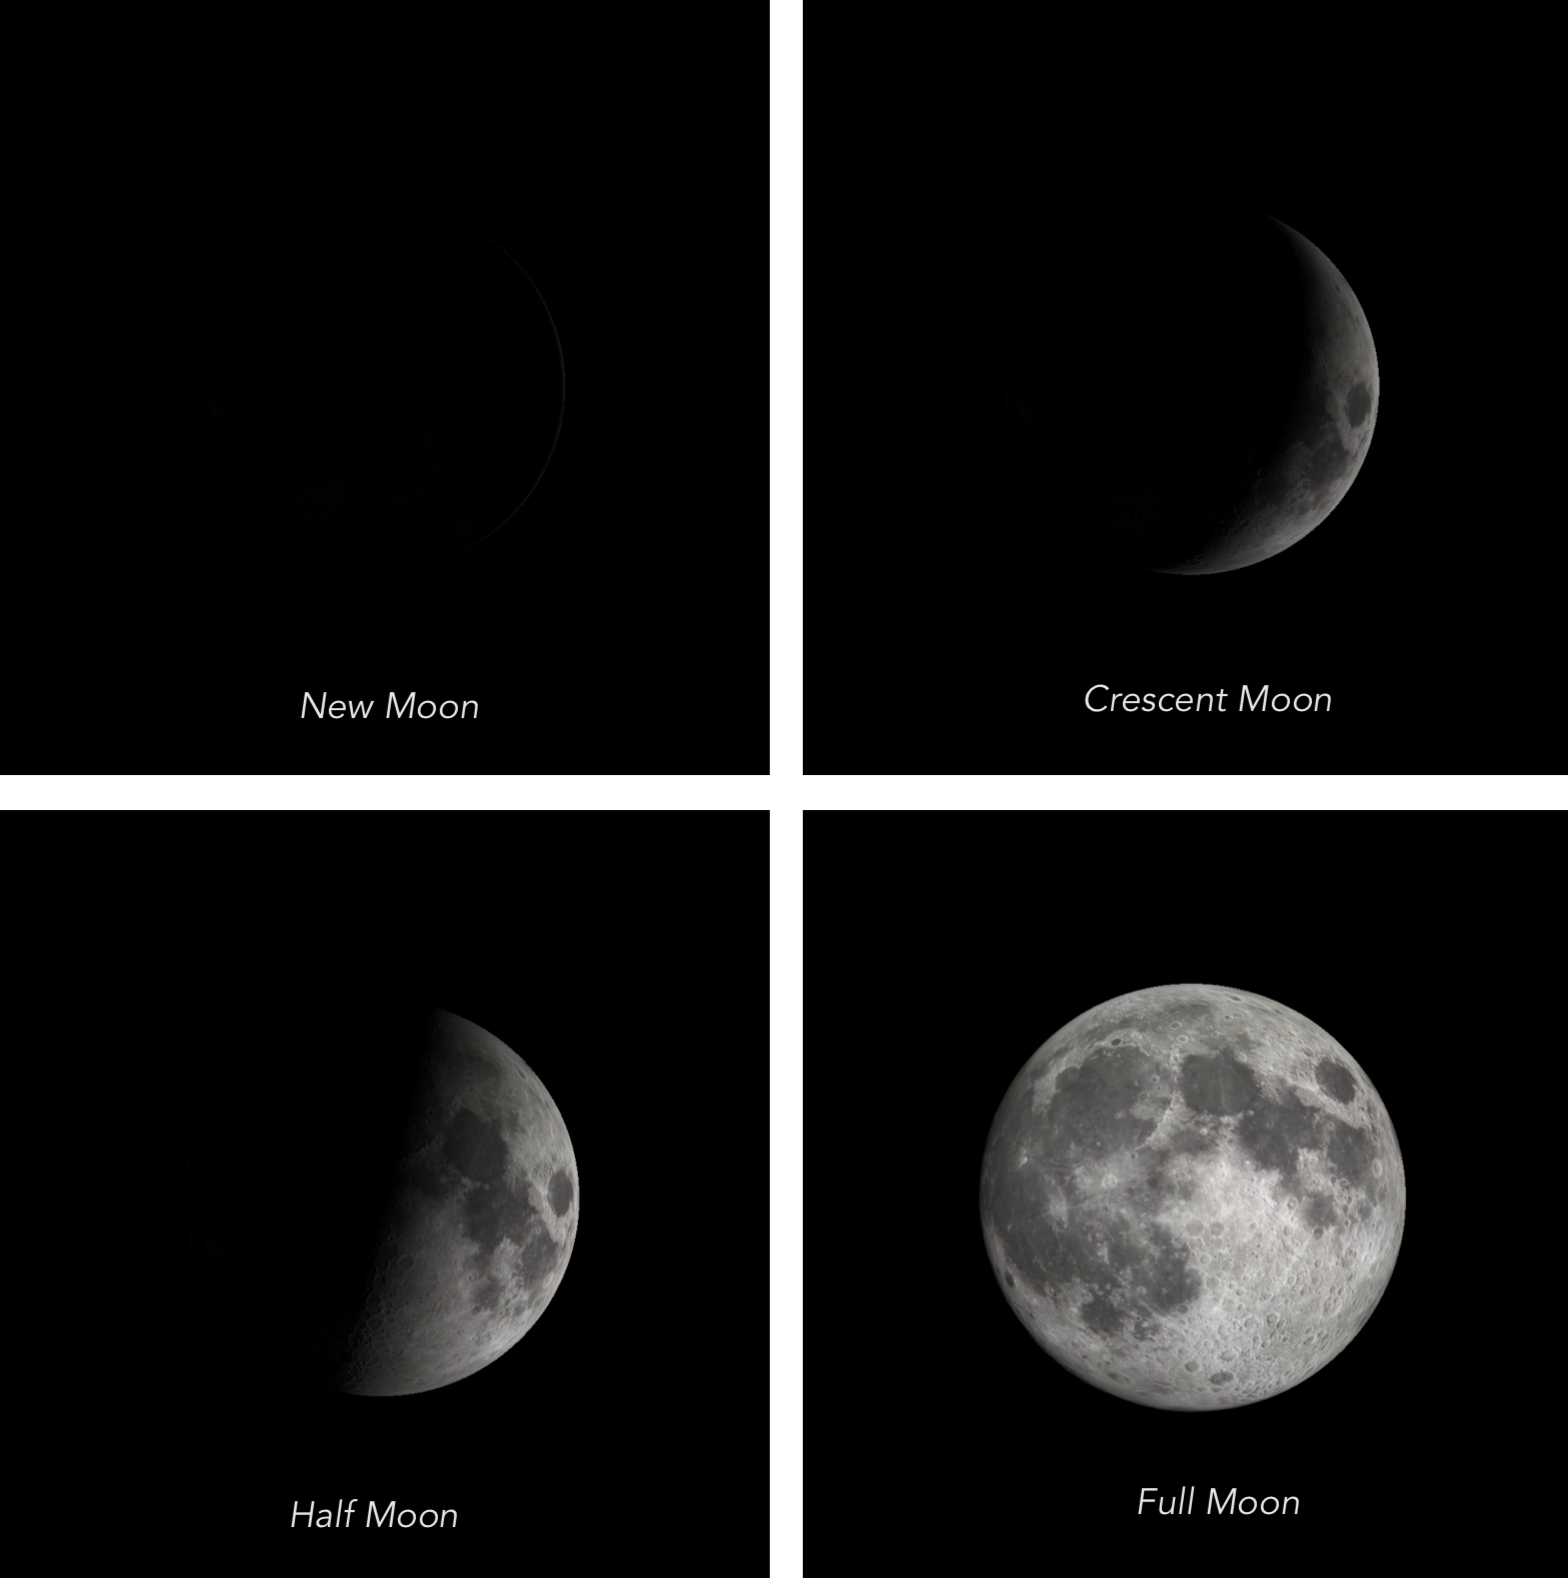
Brief summary: The Moon is a spherical rocky body, like the Earth but significantly smaller. Throughout the month the Moon changes shape, from new Moon, through the crescent phase, to a half Moon, and then full Moon, before disappearing again back to New Moon. The Moon emits no light of its own, this effect is purely down to how we see the change in illumination from the Sun as the Moon slowly orbits the Earth.
Key concept: The Moon is illuminated by the Sun, and changes shape in a predictable way over a month.
Key words: Moon, Sun, light, shadow, Full Moon, Half Moon, New Moon, Crescent Moon, phase
Visuals: Animation of the Moon changing shape from New Moon to Full Moon and back again, covering the 29 days of the lunar cycle: https://wesharethesamemoon.org/resources/activities/extras/LunarPhases.mov
See also images of various lunar features from the Lunar Planetary Institute.
The Science Story:
What shape does the Sun look in the sky?
It looks like a circle. The Sun is really a giant ball, a long way from the Earth.
What shape is the Moon? Is it also a circle?
Sometimes the Moon is a circle, but sometimes it is other shapes.
What shapes do we see when we see the Moon?
Sometimes we see a half-Moon, sometimes we see a banana-shaped Moon (this is also called a crescent Moon), and sometimes we see the Moon as more than a half-Moon but not quite a circle (this is called a gibbous Moon).
The Moon is not like the Sun. The Sun is a star and shines very brightly.
Is the Moon a star?
No, the Moon is made of rocks, like the Earth.
Do rocks shine?
No, rocks do not shine. We see rocks (and animals, and people, etc) on the Earth because they reflect sunlight, just like I can see all of you because you are reflecting the light in this room. We see the Moon because the Sun shines on it, and we see the light reflecting back to us, as if the Moon were a dusty mirror.
The Moon is a ball, like the Earth, but quite a lot smaller. The Sun shines on the Earth and gives us day and night. The Sun only shines on half of the Earth, so one half of the Earth has daytime, and the other half has night. The same happens on the Moon. When one side of the Moon has daytime, the other side of the Moon doesn’t see the Sun and it is night-time.
As the Moon goes around the Earth, sometimes we see the daytime side of the Moon, the Moon looks very bright and we call this a Full Moon. Sometimes we can only see a bit of the Moon lit up by the Sun, and this is a crescent Moon.
Sometimes we only see the side of the Moon where it is night-time, so the Moon looks very dark to us; this is called a New Moon.
Visual demonstration: show this movie to the class. This animation shows the Moon changing phase from New Moon to Full Moon and back to New Moon. (In reality this takes about 29 days, so the movie is much faster than real time.)
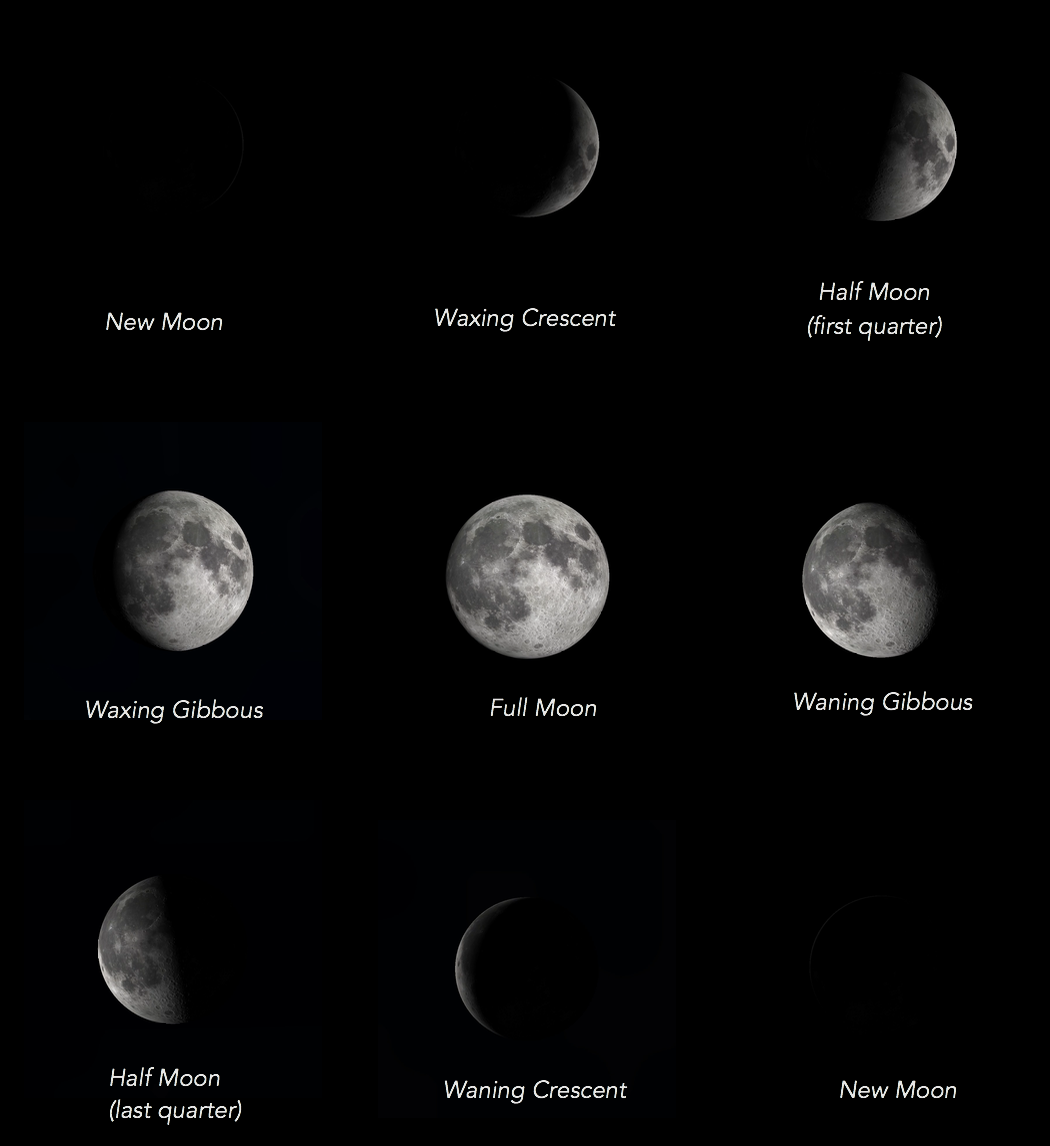
Moon phases chart: you could also show the Moon Phases Chart available as a webpage, a Word document, a PDF, and a PNG image.
A simplified chart showing just the new, crescent, half and full Moon is also available as a webpage, a Word document, a PDF, and a PNG image.
Optional demonstration: you can also demonstrate the phases with a white ball and a lamp or torch. Illuminate the ball and ask the students what shape the illuminated part looks from where they are sitting. This works best if you have the students in a semi-circle so that there are different answers depending on where they are sitting.
If the classroom is not dark enough for the children to clearly see what it going on, then you could show this illustration of the activity: https://www.jpl.nasa.gov/edu/teach/activity/moon-phases/
or this demonstration video from Youtube: https://www.youtube.com/watch?v=wz01pTvuMa0
The Science: The Moon is our nearest neighbour in the Universe. It is a small rocky body, with a solid surface like the Earth. It is too small to hold an atmosphere though (it doesn’t have enough gravitational pull), and one consequence of this is that the Moon’s surface is much colder than that of the Earth. Since it is so cold on the Moon there is no liquid water and no life.
Unlike the Sun and the stars, the Moon emits no light of its own, we only see it because it reflects the light of the Sun. (This is also how we see the other planets – none of them emit their own light either, we only see reflected sunlight from their surfaces.)
From our vantage point here in the Earth, the Moon appears to change shape over a month (the word “month” is in fact derived from the word “moon”). Like the Earth experiencing day and night, only half of the Moon is ever illuminated by the Sun (“lunar day”), the other side is experiencing “lunar night”. The Earth spins once on its axis every 24 hours, so one Earth-day is 24 hours long.
The Moon also spins on its axis, but it spins much more slowly than the Earth, in fact it takes 29.5 days to spin once on its axis. This means that lunar-daytime lasts for about two weeks, and lunar-night-time on the Moon also lasts about two weeks. One full lunar day lasts almost four Earth weeks!
The Moon is also in orbit around the Earth, in the same way that the Earth is in orbit around the Sun. The big difference is that it takes one year (365.25 days) for the Earth to complete one orbit of the Sun, while it takes the Moon 29.5 days to complete one orbit of the Earth. Because the Moon takes the same time to complete one orbit of the Earth as it takes for the Moon to spin once on its own axis, we only ever see one side of the Moon.
Sometimes when the Moon is close to being a New Moon and there is only a thin crescent visible, if you look carefully you will notice that the rest of the Moon is faintly visible. This effect is called “Earthshine” and happens because the Moon is also reflecting light from the Earth. If you imagine being on the surface of the Moon when it is close to New Moon and looking down at the Earth – you would see an almost completely-illuminated Earth. Earthshine is the result of light from the Sun reflecting off the Earth, and then being reflected back to us by the Moon’s dark half.
The activity: This activity lets the students create their own model of the Moon, which they can then use to explore why we see phases of the Moon. They can make their Moons look realistic (looking like the real Moon) or they can be creative and design their own Moon based on something from one of the linked stories, or something completely different. Polystyrene balls can be sourced from many craft shops. The completed Moon globes could be hung from the classroom ceiling to make a display. Note that for the demonstration of phases to work best, it needs to be done in a darkened room (the darker the better).
Props required:
- Lamp with the shade removed
- White foam or polystyrene balls (1 per student)
- Wooden lollypop sticks or pencils (1 per student)
- Craft knife of similar
- Pens or other materials for decorating the models
Safety note: Care needs to be taken when pushing lollypop sticks or pencils into the Moon models, this is best done by an adult, or under close supervision.
- Take a Moon globe and a lollypop stick or pencil.
- Carefully push the lollypop stick or pencil into the ball by a few centimetres so that your Moon does not wobble – ask for help if you need it!
- Think about what the Moon looks like in the sky. What colour is it? What shapes or patterns can you see?
- Decorate your Moon globe using pens, paint, stickers, or other art materials. You can make it look like the real Moon, or you can draw some of the characters from a Moon tale that you have heard.
- Now you have created your Moon, we will do an experiment to see how Moon phases happen.
- Our experiment has a Moon globe, a bright light as the Sun, and your head as the Earth. We are going to experiment and see what the Moon looks like from the Earth as it orbits our planet.
- Stand facing the lamp holding your Moon model at arm’s length. Your Moon should be between your head and the lamp.
- Look at your Moon carefully. How much of the Moon is bright?
- With the Moon between you (the Earth) and the Sun, you should see no light from the Moon. The Sun is shining on the far side of the Moon, the side that faces away from the Earth. The side of the Moon you can see is in shadow.
- Next, turn slowly anticlockwise (to your left), still holding out your Moon globe in front of you.
- As you turn, watch carefully to see how much of the Moon you can see lit up by the Sun.
- If you look carefully, you should see start to see some light on the surface of your Moon. The lit part will start to look like a thin banana (this is the crescent phase), get bigger to become a half-Moon, then carry on getting bigger, before becoming a Full Moon. We see a Full Moon when we see the whole of the Moon’s surface reflecting light from the Sun.
- Carry on turning slowly anticlockwise.
- If you look closely you will see the lit part of the Moon start to change shape again.
- The light part of the Moon will pass through the same shapes (or phases) in reverse, but now illuminated on the left half of the Moon globe, rather than the right.
- As you turn, the lit part of the Moon that you can see will change from full, to half, to crescent, back to shadow.
- When you have turned all the way around and are facing the Sun again, look at your Moon and see how much light there is. Your Moon should now be in shadow again, and this is called a New Moon.
- Finally, look around the room at the other Moon models and look carefully at what you see. Are all the Moons in shadow like yours? Can you explain why?
The key point at the end here is that all the models are illuminated on one side, and dark on the other, even though each student can only see a New Moon with their own model.
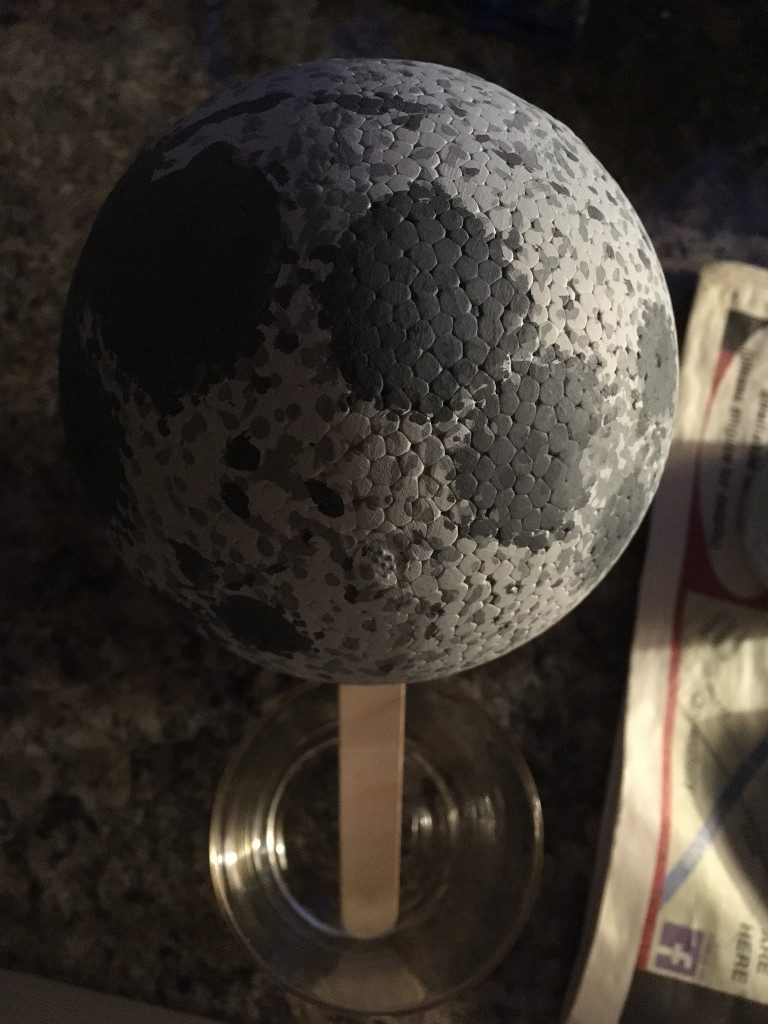
A completed Moon model, decorated to look similar to the real Moon. 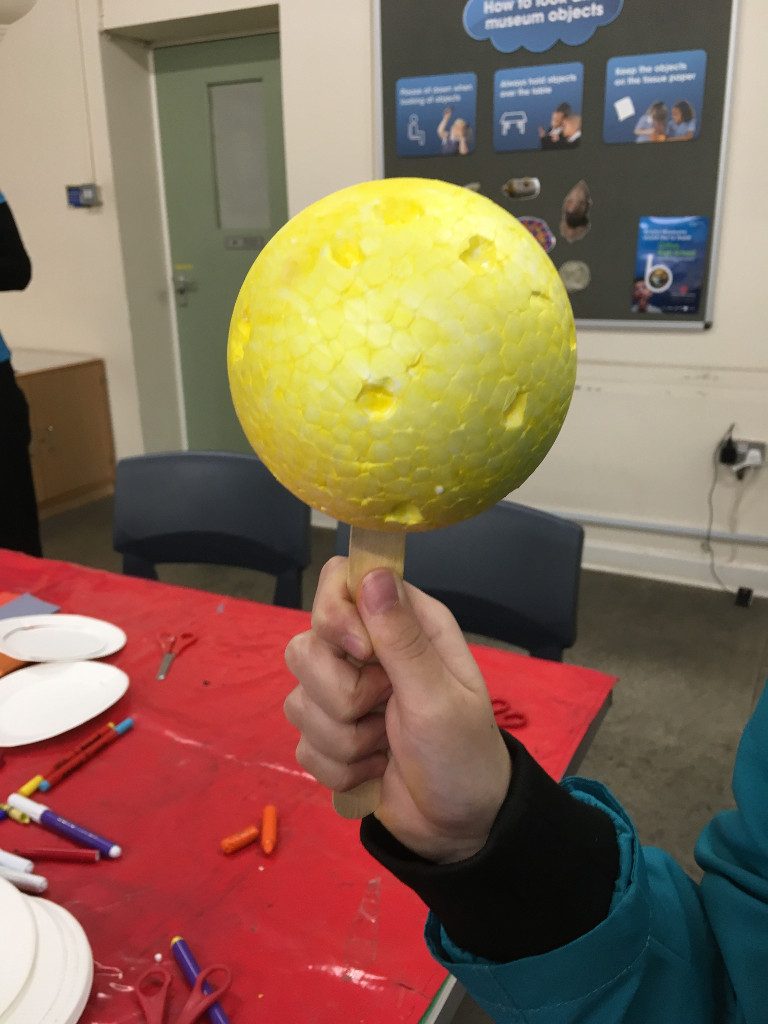
The Moon is (not) made of cheese 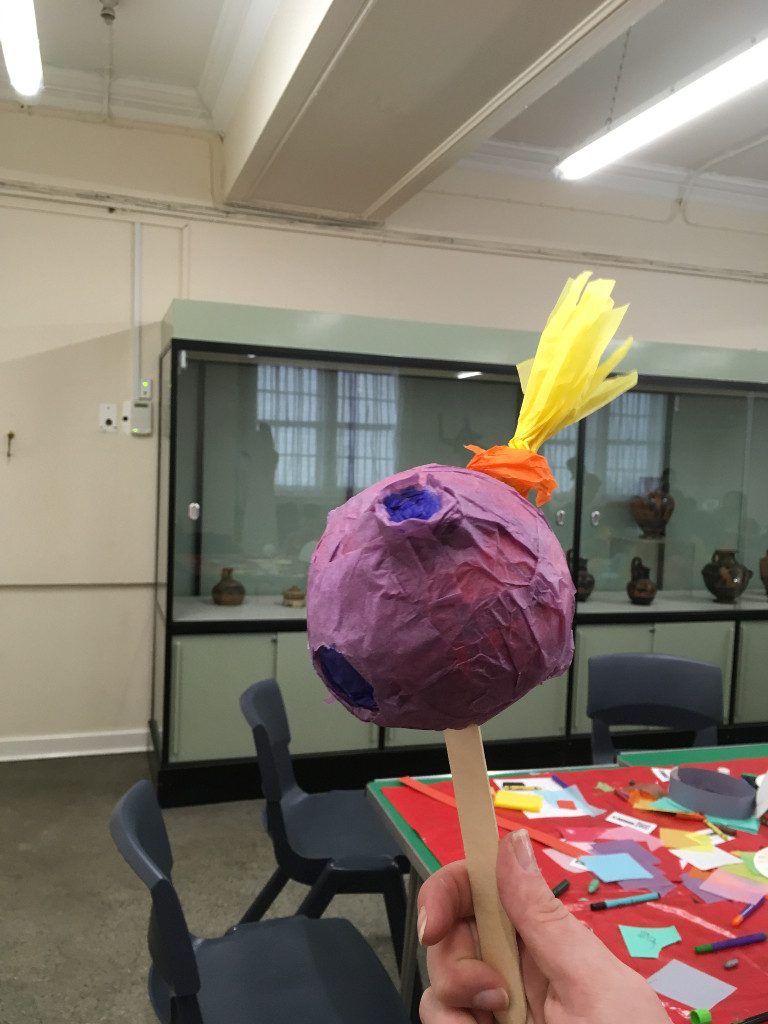
An imaginative Moon model 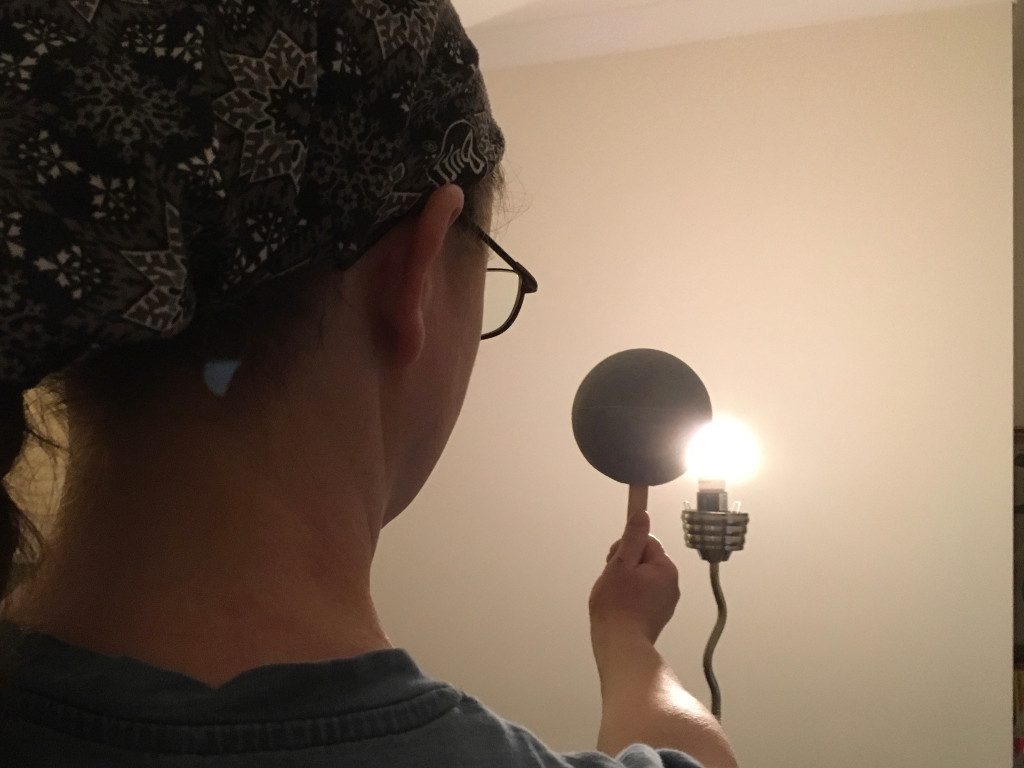
New Moon (Moon between the Sun and the Earth) 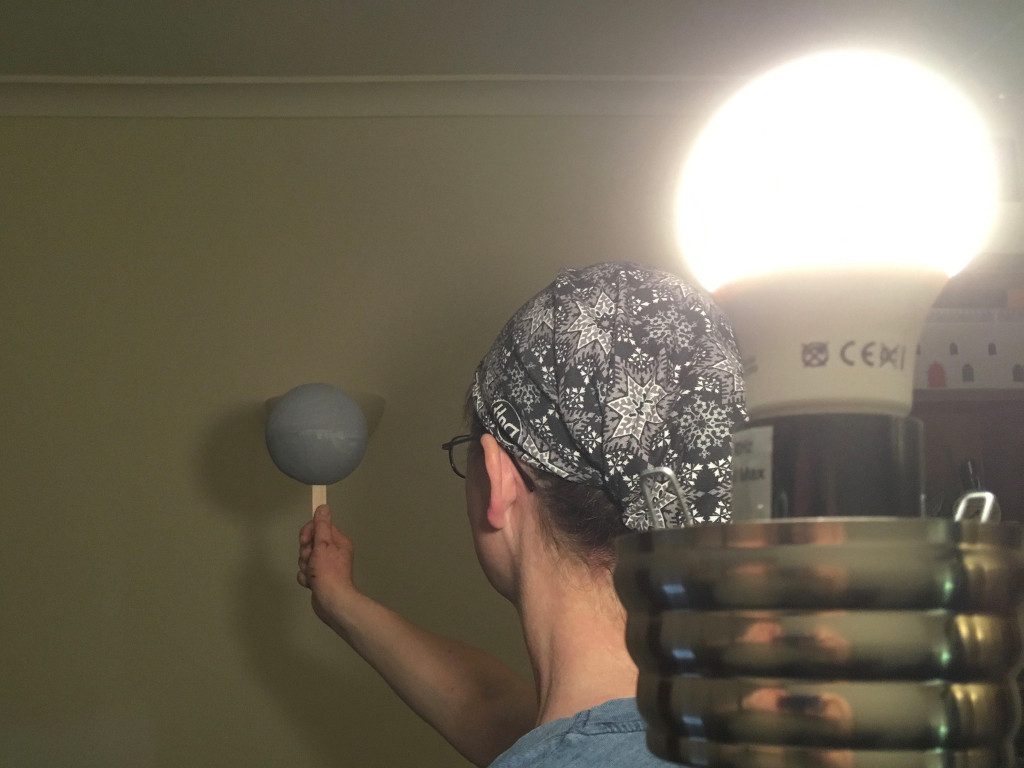
Full Moon (Moon and Sun on opposite sides of the Earth) 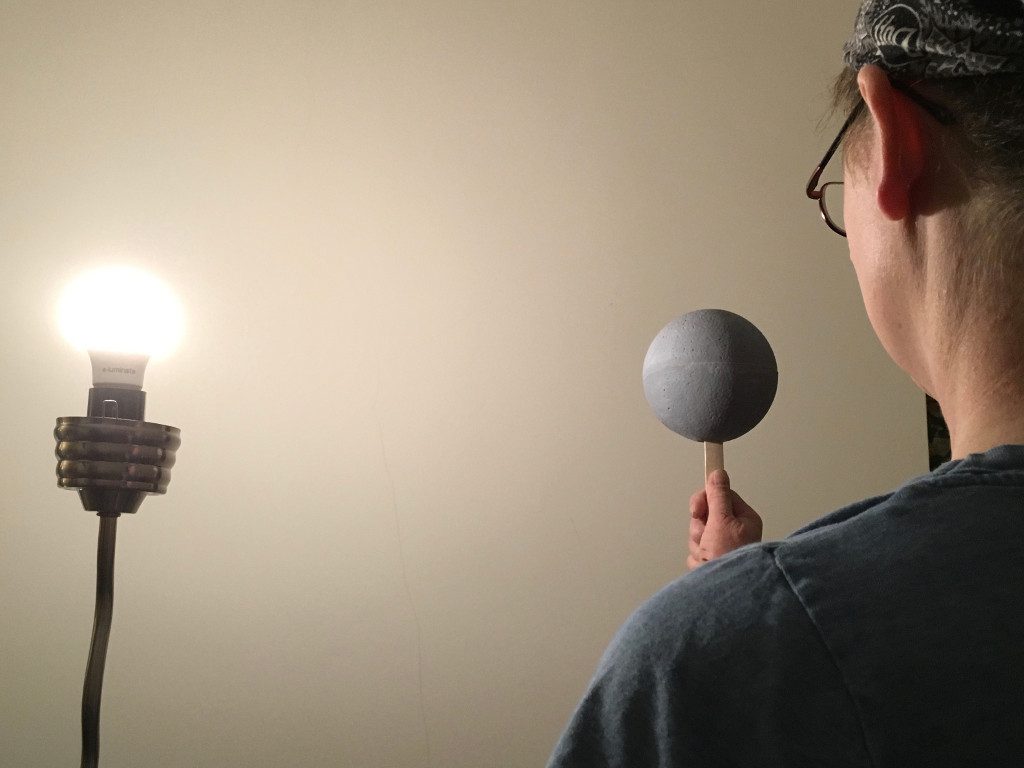
Half Moon (Moon part way through it’s orbit of the Earth)
Extension: Instead of ready-made balls, students could create their own Moon models using balloons and papier-mâché. In either case, the Moon models can be decorated to depict the surface of the Moon.
This could be done realistically using a map of the prominent lunar features, or it could be more artistic with the students illustrating their favourite character from a Moon tale. Grey pens or paints could be used, or for a more tactile version to show craters and mountains you could use fabric and other art materials.
Common misconceptions:
- It is often thought that we never see the dark side of the Moon – the “dark side” of the Moon is whichever half is currently not illuminated by the Sun. As the activity demonstrates, this changes gradually throughout the month, so there is no fixed “dark side of the Moon”. We never see the far side of the Moon, because the Moon rotates once in the same time it takes to complete one orbit around the Earth.
Curriculum links:
- Mathematics KS2 (lower) – Geometry, properties of shapes: recognise 3D shapes in a variety of orientations and describe them.
- Mathematics KS2 (lower) – Geometry, properties of shapes: recognise angles as a property of shape or a description of a turn.
- Mathematics KS2 (upper) – Geometry, properties of shapes: identify angles of a whole turn, half turn, and other multiples of 90 degrees.
- Science – working scientifically, scientific vocabulary: setting up simple practical enquiries, drawing conclusions.
- Science KS2 (lower) – Rocks: compare rocks based on their appearance.
- Science KS2 (lower) – Light: dark is the absence of light; light is reflected from surfaces; shadows are formed when light is blocked.
- Science KS2 (upper) – Earth and Space: describe the movement of the Moon relative to the Earth; describe the Sun, Moon and Earth as approximately spherical bodies.
- Science KS2 (upper) – Light: recognise that light travels in straight lines; use the idea that light travels in straight lines to explain that objects are seen because they give out or reflect light.
- Art and design KS2 – improve mastery of techniques including drawing and painting with a range of materials.
- Subject oracy –concepts such as “phases”, the names used for each phase of the Moon.
Linked activities:
Similar activity with illustrations from NASA, very useful for demonstrating the same principle if you do not have a dark classroom: https://www.jpl.nasa.gov/edu/teach/activity/moon-phases/
Why the Moon always keeps the same face towards us – astroEDU: https://astroedu.iau.org/en/activities/1504/lunar-day/
Moon phases using Oreos, ideal for EYFS– NASA: https://spaceplace.nasa.gov/oreo-moon/en/
No-bake Moon cookies, an edible Moon activity – NASA: https://spaceplace.nasa.gov/moon-cookies/en/
Build your own Sun-Earth-Moon orrery if you have the time and a 3D printer: https://www.instructables.com/id/Make-a-Tellurion-sun-earth-moon-Orrery-for-Your-Ki/
Measuring the lunar month, an observational activity to help children see the phases of the Moon for themselves: https://www.lpi.usra.edu/education/skytellers/moon-phases/activities/paper-moon/
Copyright: Megan Argo 2019


